

About 3 minutes · no code
How to Send Framer Form Submissions to Slack (Step-by-Step)
You already have a form on your Framer site. By the end of this page, every submission will arrive as a message in your Slack channel — with your design, your fields and your success state untouched.
What you need first
A published or draft Framer site with a form on it, and a Slack workspace you can sign into.
Step 1
Design your Framer form as you normally would
Open the page your form should live on. Two placement rules matter, and they are the thing people most often get wrong:
Your form sits outside the page frame, beside it on the canvas.
The connector you add in step 2 sits inside the page frame.
The connector is what renders on the published site; it pulls in the form you point it at. If you drag your form onto the canvas beside the page and leave it there, you’re set.
Set ‘Send to’ while you’re here. Messages reach your channel whether or not Send To is filled — but your custom states won’t behave without setting it.
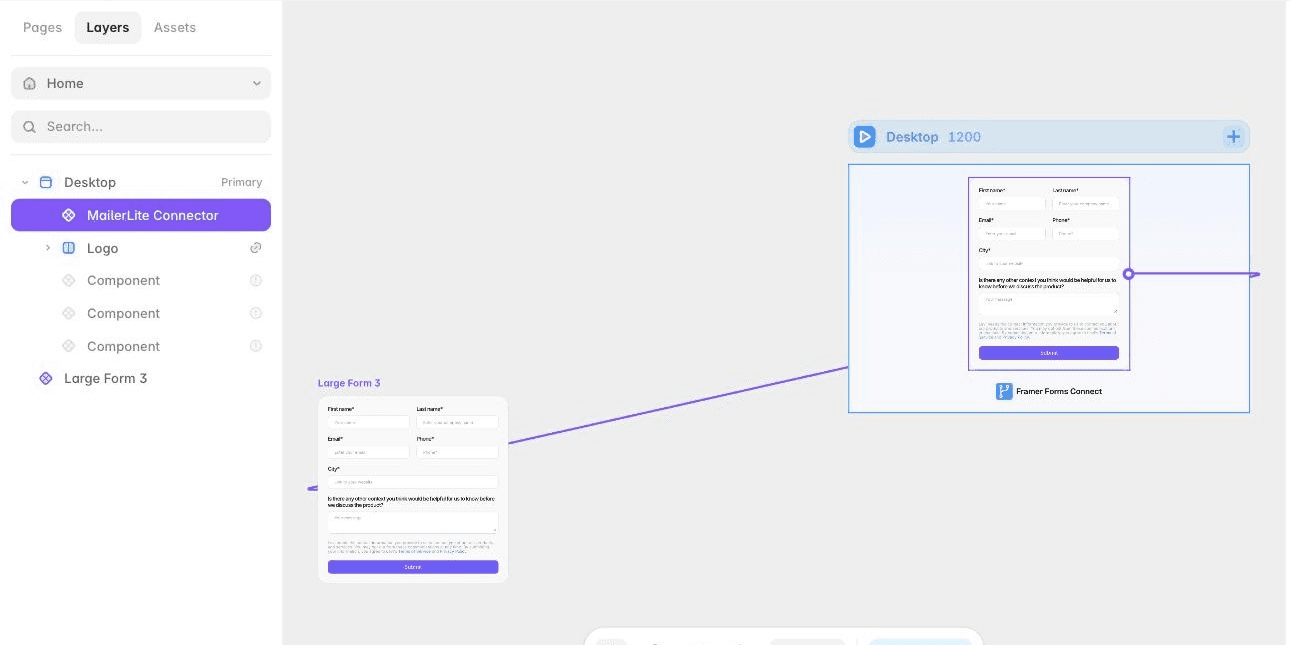
Left: your form, loose on the canvas. Right: the connector, nested inside the page frame — see the Layers panel. The purple line is the link between them.
Step 2
Connect Slack to your Framer form from the plugin
Open the plugin. Framer menu → Plugins → Browse All, search for Framer Forms Connect. Once it’s installed, Plugins → Run Recent Plugin is quicker.
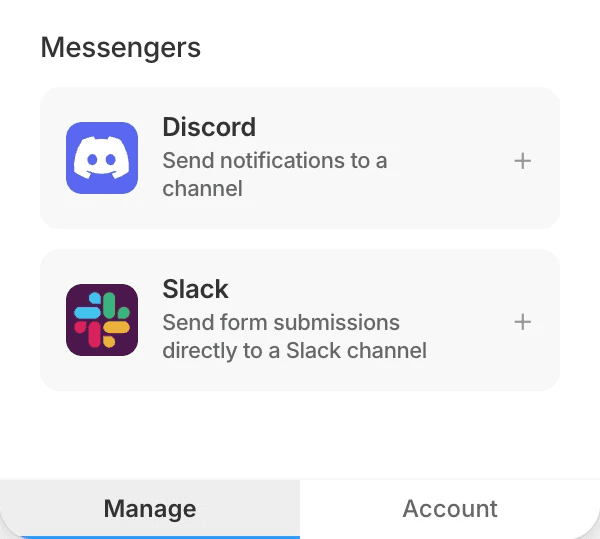
Add Slack. It sits under Messengers, near the bottom of the list. Drag it onto your page, or click the +. A connector component lands on the canvas.
Wire the connector to your form. Drag from the purple dot on the edge of the connector onto your form. A purple line joins them, and the connector’s settings in the right-hand panel now name your form. If that field still says Select…, the link didn’t take — drag again.
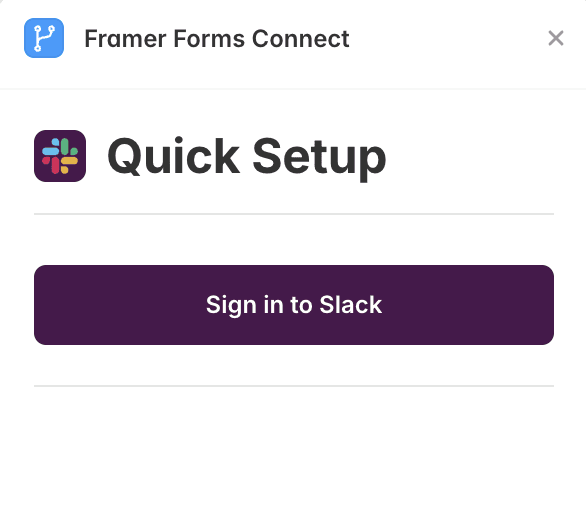
Sign in to Slack
Click Sign in to Slack and approve the connection.
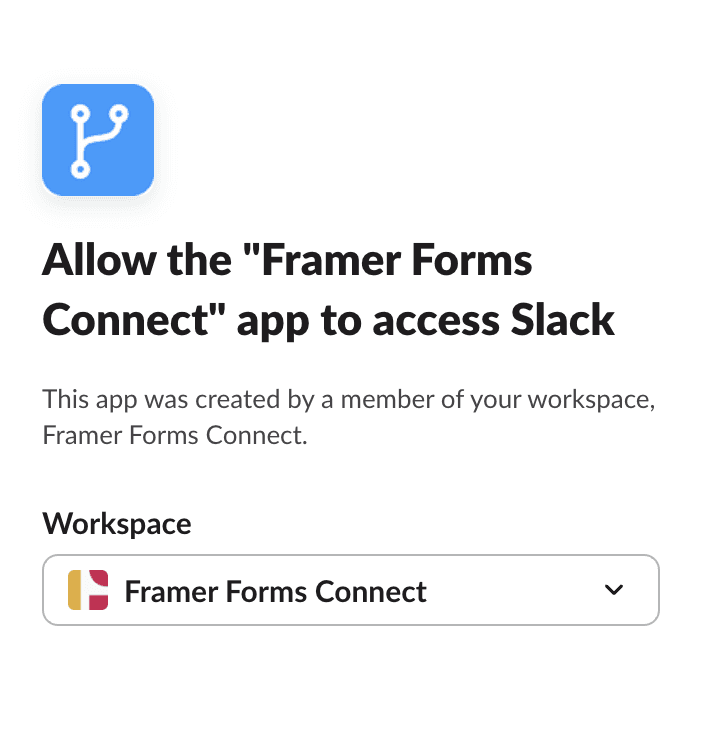
Pick the channel
Once you’re connected, choose the channel from the Select Channel dropdown. That’s the whole configuration.
✔ There are no field names to match. The whole submission is posted to the channel as a message, so nothing needs renaming in your Framer form.
✔ That means you can add or remove fields later without touching the plugin again.
✔ Form name will be a heading of your message.
Step 3
Test with a real submission, then publish
Hit Publish, open the live URL and send a real submission. Then check the channel — the submission should be sitting there as a message.
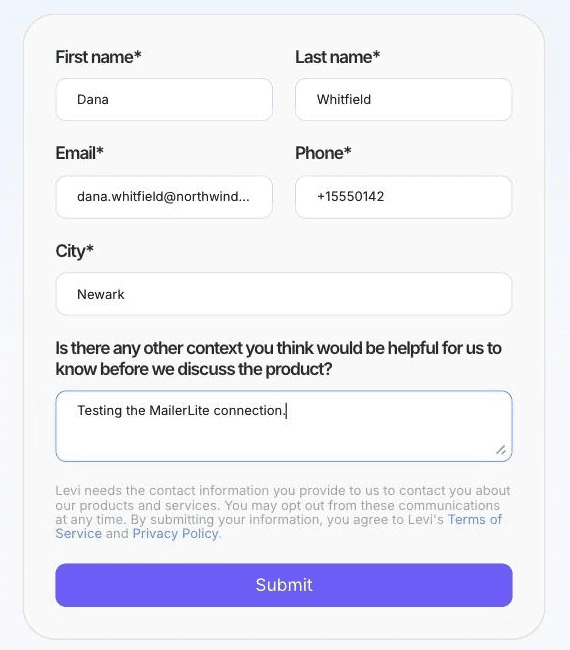
Fill it in as a visitor would.
A green line under the form means it went through:
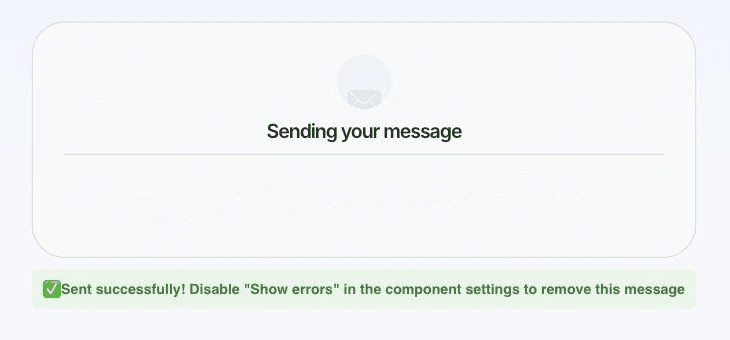
Fill it in as a visitor would.
Last thing before you call it done. Select the Slack connector on the canvas and set Show Errors to No. That banner is a build-time diagnostic — useful to you, confusing to visitors.
Publish once more. Every submission now lands in your Slack channel as it happens.
Before you decide
Why not Zapier, Make or a webhook?
You can post a Framer form to a Slack channel with Framer’s webhook and an automation tool. Forms Connect exists because that route adds three things you then have to babysit:
A second subscription. Zapier and Make bill per task. Every submission is a task, and the free tiers run out fast.
A silent point of failure. If the automation errors, the visitor still sees a success message and the lead is gone. The plugin shows you the reason on the page while you test.
Message formatting by hand. A webhook posts raw JSON, so you build the message layout in the automation. The plugin formats each submission as a readable message in the channel.
If you already pay for Zapier and need one submission routed to five tools, use it. If you want one Framer form posting to a Slack channel in about two minutes with nothing else to maintain, that is what the plugin does.
Framer forms to Slack: FAQ and troubleshooting
Do I need to rename my form fields?
No. Unlike the CRM and newsletter integrations, messengers post the whole submission as a message, so there are no field names to match.
Form works well on desktop, but collapses on mobile.
Set the wrapper's position as Fill in Framer instead of Fit.
How do I use a separate version of the form on mobile?
You'll need to create a separate form and hide the desktop version on mobile.
Still stuck
Email us at annyeong@romans.design with the site URL and we’ll look at it with you. A real person reads it - no automated responses.
Before you write, two pages solve most cases: the ten checks for submissions that do not show up and where Framer form submissions go.
That’s the whole setup.
Every other integration follows the same five steps. Try it on your own site free for seven days.
Send Framer forms to other tools
HubSpot · Mailchimp · Brevo · Beehiiv · MailerLite · Drip · Jotform · Discord · All tutorials